

My almost two year old is currently obsessed with all things cars, trucks, planes and trains and his room has become a hodge podge of all of the above. While my husband was out of town, I tackled (or should I say started) a ridiculous number of projects I had found on Pinterest. One of those being, the infamous gutter bookshelves. I did not take any photos for a tutorial. 1.) I had no idea
Anyways, I wanted some letters to hang above the shelves. I was inspired by some framed traffic letter art I had seen, but decided it was something I could make myself.
What you'll need:
- Craft letters
- Craft paint
- Paintbrush
- 8.5 x 11 sheet of shipping label paper (I used Avery)
- Paper cutter
- Miniature cars
- Mod Podge (or make your own using equal parts water and glue)
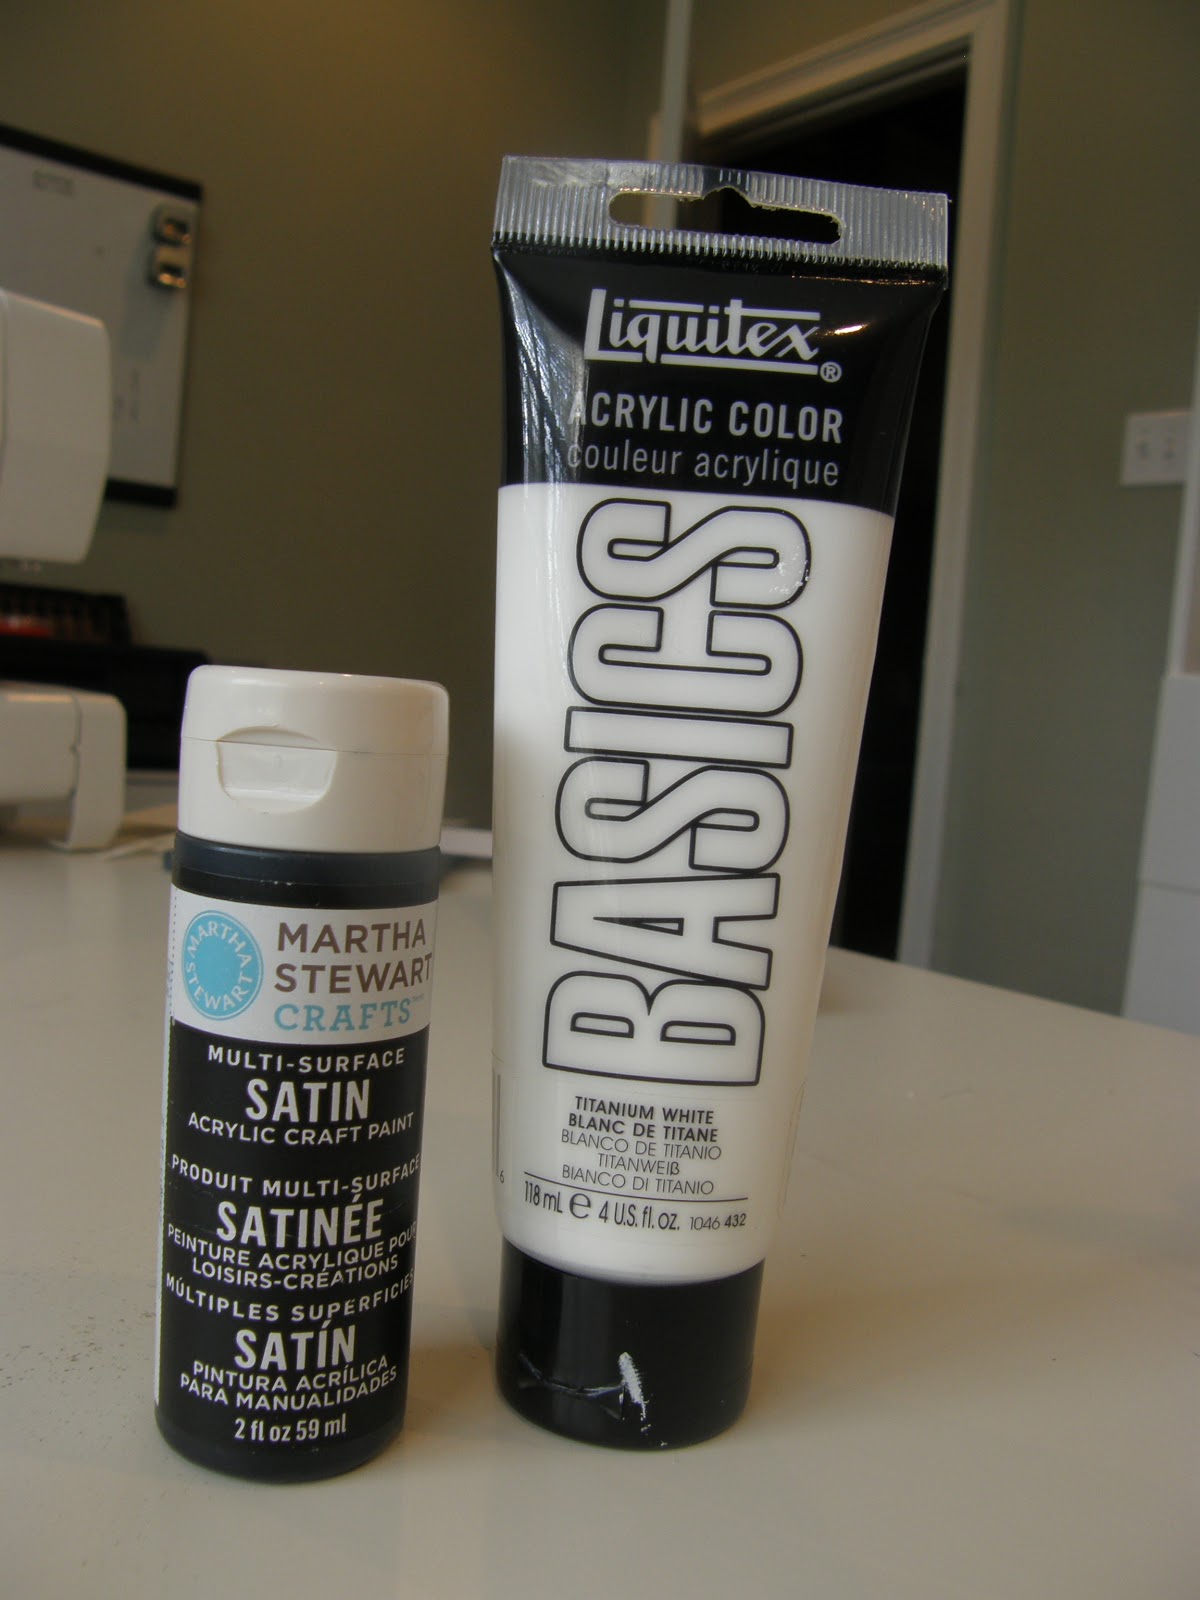
Start by painting your letters with your color of choice. I started with black, but then decided it was too harsh looking for a toddler's room. I mixed my own grey with these:

Cut your shipping label paper in 1/4" strips. When you're done, snip them into 1" pieces. You could probably use regular paper for this, I just liked the fact that I had a little more control with the adhesive backed paper.

Now you're ready to stick the lines on. Start in the middle of the letters and space your stickers however you like. On corners, I overlapped two 1" pieces to get really crisp angles. At this point, I thought I was done, until the corners of the paper started peeling up. To be on the safe side, mod podge over the entire letters (or make your own like I did) to seal the edges.
I found these teeny tiny "Spinball Racers" at Toys R' Us for $5 a package. They were the perfect size and came in cute styles. There are race cars, police cars and firetrucks just to name a few.

I started feeling a little guilty for wanting to glue these on to the letters because J was having so much fun rolling them along the "roads". That is, until I picked up teeny tiny cars about 20 times in less than 10 minutes. Yeah, these really aren't for toddlers...

Hot glue your cars on and you're done! I adhered these to the wall with medium, velcro command strips and they worked perfectly. I'm really happy how these turned out and J loves looking at his "chuck" letters.


No comments:
Post a Comment